You’ve probably seen tons of cute, creative artwork online utilizing dog prints. Making dog paw prints with paint can be a great way to celebrate your dog. However, the whole process can easily seem a bit overwhelming, as well. After all, you’re putting paint on your dog’s paws. (What could possibly go wrong?)
Thankfully, making painted dog paw prints isn’t challenging if you prepare properly and follow some basic steps. It is possible to make a huge mess with this process, though, so be sure you do it somewhere washable.
The 8 Tips on How to Make Dog Paw Prints with Paint
1. Get Your Dog Used to Paw Handling
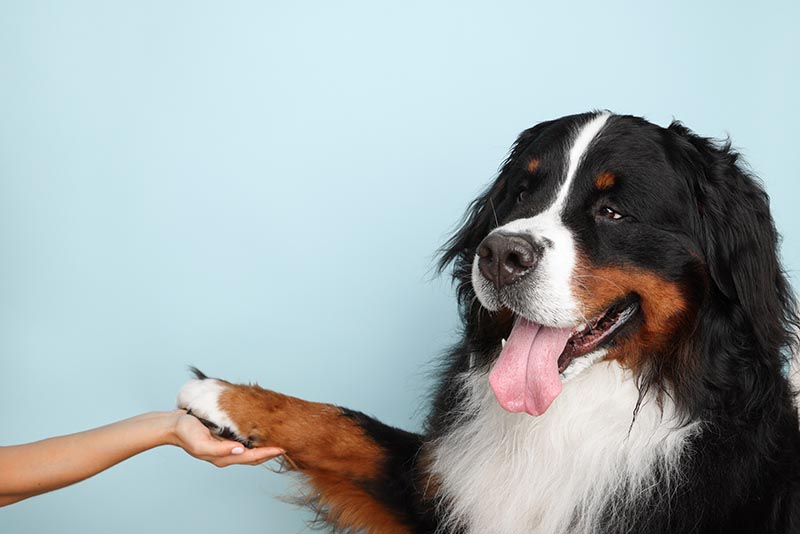
Making paw prints in the paint will be extremely challenging (if not impossible) if your dog isn’t okay with their feet getting touched. Many dogs don’t like their paws handled. However, you can get any canine used to this process (and should, if only for health reasons).
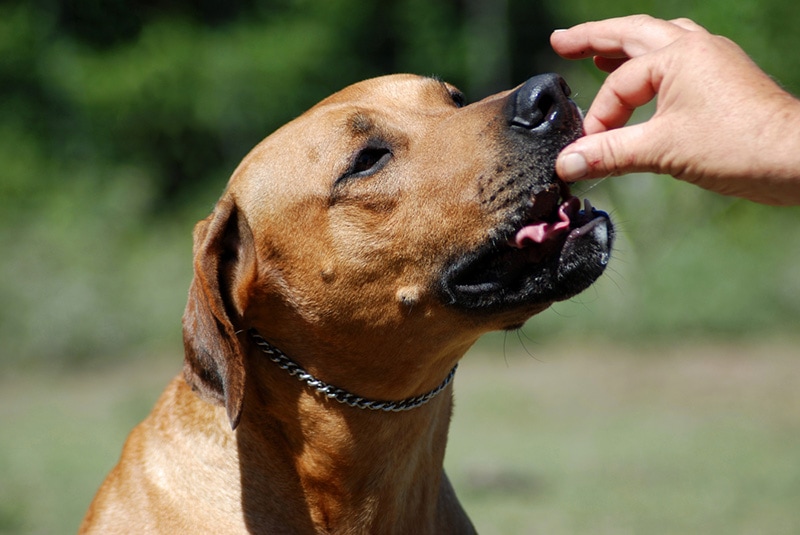
Doing so is pretty simple. All you need to do is handle your dog’s feet and then reward them. Start with the most handling your dog can stand. This may be barely poking their foot, or it may be picking it up. Then, once your dog is completely comfortable with that, move on to more handling (using treats the whole time). It may take several sessions, but your dog should eventually allow you to use their paws for painting.

2. Trim Their Paws
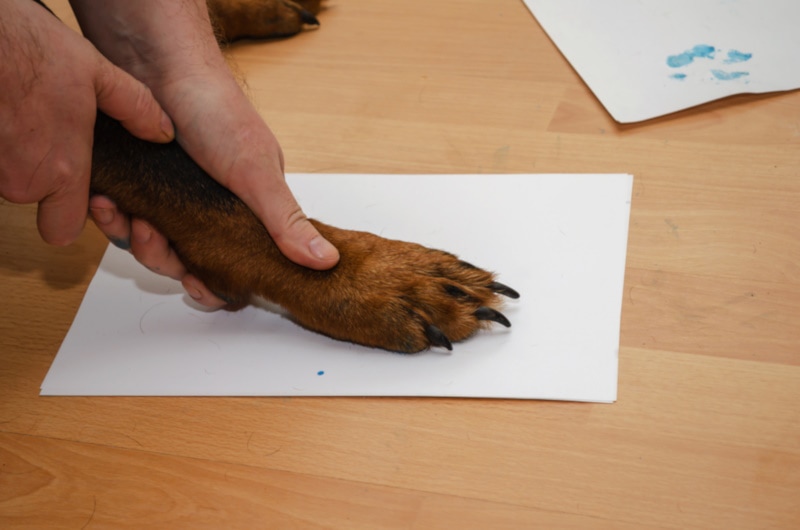
Your dog’s paws should be trimmed before starting. Long fur around their feet can lead to marks on the paper, and it’s just harder to clean up. Therefore, you should ensure that your canine’s feet are trimmed and ready to go.
If they aren’t, you probably need to spend a session grooming their feet a day or so beforehand. Don’t try to trim and paint all at once, as most dogs won’t put up with this much foot-touching. You want to break it up to prevent stress.
3. Prepare Your Supplies
Now that your dog is trained and ready, you need to gather your supplies. Be sure to use only dog-safe paint. Of course, most paints aren’t labeled “dog safe.” Therefore, you should look for paints made for children which are non-toxic. Your dog may lick some paint off of their paws, and you don’t want this to cause any health issues.
You’ll also need a sponge, whatever you’re putting the paw print on, and several small containers for the paint. Make sure these containers have larger mouths that let you fit the sponge inside.

4. Use a Sponge to Apply Paint
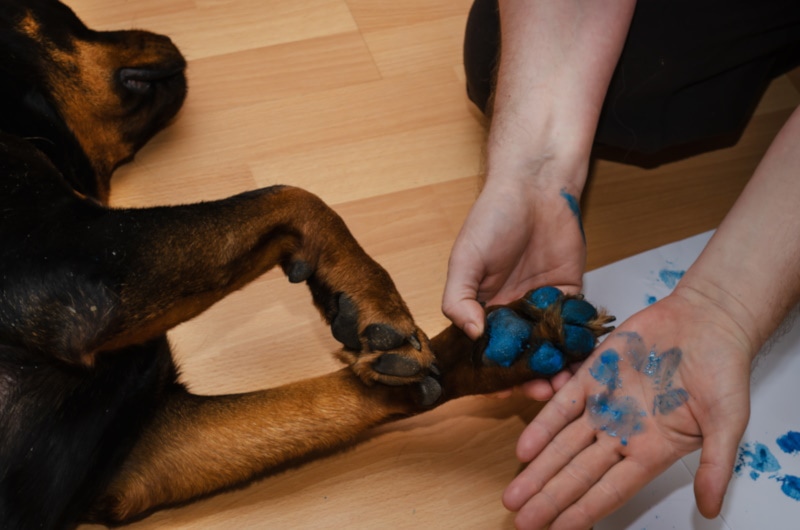
Next, dip the sponge into the paint and use it to paint your dog’s paw. Be sure to first wipe off any excess paint from the sponge to ensure the paw print isn’t gloopy. Gently press the sponge to your dog’s paw several times to ensure it is completely covered. Because paws tend to have many crevices, you’ll probably want to do several coats.
Of course, try to make it quick, as your dog likely won’t stay still for long. However, there is no reason to rush, either.
5. Guide Your Dog’s Paw to the Surface
In my experience, it works best to have someone holding the canvas up, and then you guide the paw to the canvas. Don’t try to have your dog stand up on the canvas. While this does work sometimes, you’d then have a standing dog with paint all over their paw walking around. They’ll probably get more than one print on the canvas, and then you’ll have to repeat the whole thing over again.
Be sure to press down all over your dog’s paws. It’s easy to miss some spots, which will lead to an uneven paw print.

6. Wash the Paw
As soon as you’ve pressed the paw print, use wipes and water to remove the paint. You may not be able to get all of it, but you should try to get as much as possible. While the paint is non-toxic, that doesn’t mean you should just let them eat it. Plus, you don’t want paw prints all over your house.
You can then move on to the next paw, depending on what you’re doing. Be sure to wash each paw as soon as you’re done—dry paint is much harder to get off than wet paint.
7. Reward Your Dog
Be sure to reward your dog as necessary. You should provide treats and praise throughout the process. You want it to be a positive experience for your dog (so that, hopefully, they’ll cooperate next time, too). Using high-value treats can also help keep your dog distracted from the paw painting, which may make things go much smoother.
It helps to have an extra person available to keep your dog calm and rewarded while you focus on the painting.

8. “Fix Up” the Image
Even if you’re the best paw painted around, you’ll need to fix up the pawprint a little bit. Often, the edges will be smudged, and the paint may be uneven in some places. Luckily, you can easily fix this by using a paintbrush and smoothing things out a little bit.
Plus, many DIY paw print art calls for other details to be added. After you have your dog’s paws cleaned up, you can get started on the rest of the painting.
Summing Up
Making the perfect paw print art is mostly about planning and making your moves very deliberate. With a dog, you won’t have many chances for a do-over. Therefore, you must be very careful when applying their feet to the canvas and covering their paws completely. Don’t rush too much, though, as this can cause you to make mistakes.
Having an extra set of hands (or two) can be extremely helpful. You’ll need someone to hold the canvas up and still, as well as keep your dog distracted and calm. Therefore, we recommend waiting to do paw art until you have a friend that can help.
Featured Image Credit: Dmitriev Mikhail, Shutterstock


